
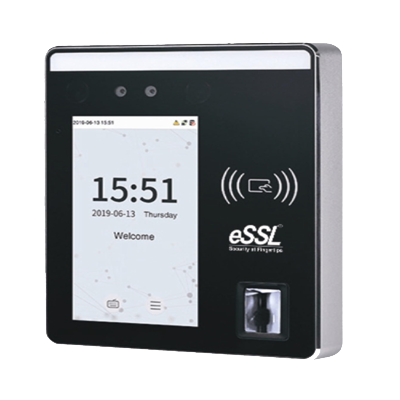
An access control system decides who can open which door, and when. This access control system buyer’s guide covers the parts, the options and the questions to ask before you spend money.
Step 1: List your doors and users
Count the doors you want to control and the number of users. Then write down the access rules for each group, such as staff, managers, cleaners and visitors.
Step 2: Pick the credential type
- RFID card: low cost and fast, but cards get lost or shared.
- Fingerprint: secure and affordable for indoor doors.
- Face recognition: touchless and quick at high-traffic entrances.
- PIN: useful as a second check on high-security rooms.
Step 3: Choose the lock
| Lock Type | Best For |
|---|---|
| Electromagnetic (EM) lock | Glass and wooden doors, most offices |
| Drop bolt | Frameless glass doors |
| Electric strike | Doors with existing mortise locks |
In most offices an EM lock is the default. The other two are for specific door types.
Step 4: Standalone or networked
A standalone reader is fine for one or two doors. Beyond that, use networked controllers and central software, so you can change permissions and check logs from one place.
Step 5: Plan for safety
- Use fail-safe locks on emergency routes, so doors release when the power goes.
- Fit exit buttons and break-glass units on every controlled door.
- Link the system to the fire alarm panel where required.
Step 6: Link it with attendance
If you use eSSL devices for both access control and attendance, you keep one employee database and have fewer devices to manage. See our eSSL access control solutions.
Questions to ask your installer
- What happens to the doors during a power cut?
- How many users and logs can the system store?
- Can permissions be changed remotely?
- What support and AMC options are available?
If you’d like help planning, contact us to plan a site visit.